Last Post: 06/01/2009
Retrieved: 01/21/2011
Updated: 05/22/2016
SHARPSSHOOTER5090
09-10-2008
With the extra parts I had left ever from making the tutorial for the MG47ES
is am building a MG47ES ak based bullpup. I uses an AK barrel, trunnion, ES
receiver, gas tube, gas pistion, FCG tray assy, RPD topcover assy. I am using
a RPD topcover because it is about 2" shorter than the MG1 top cover and will
allow me to shorten the receiver by 2" also.
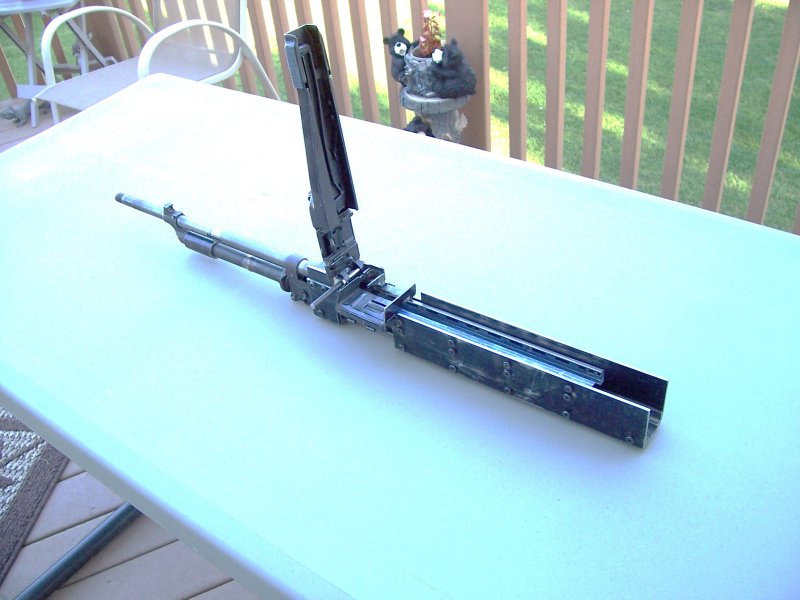
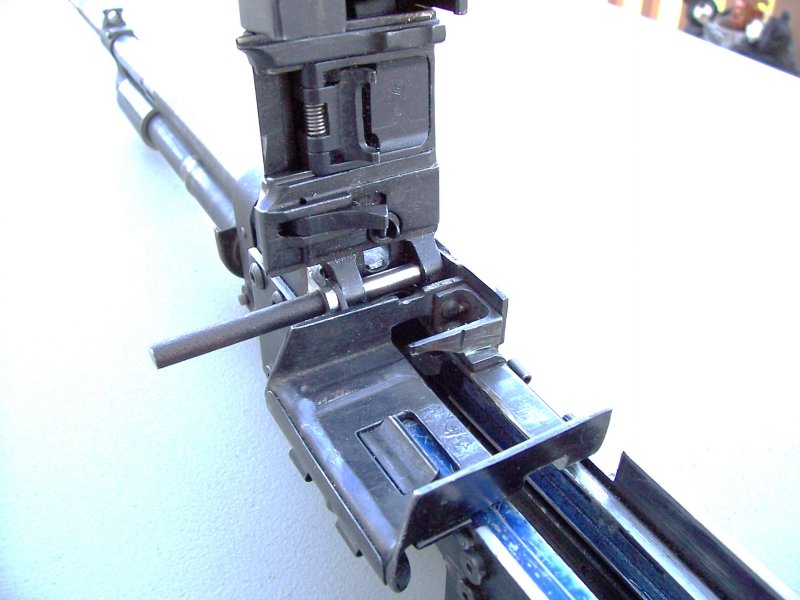
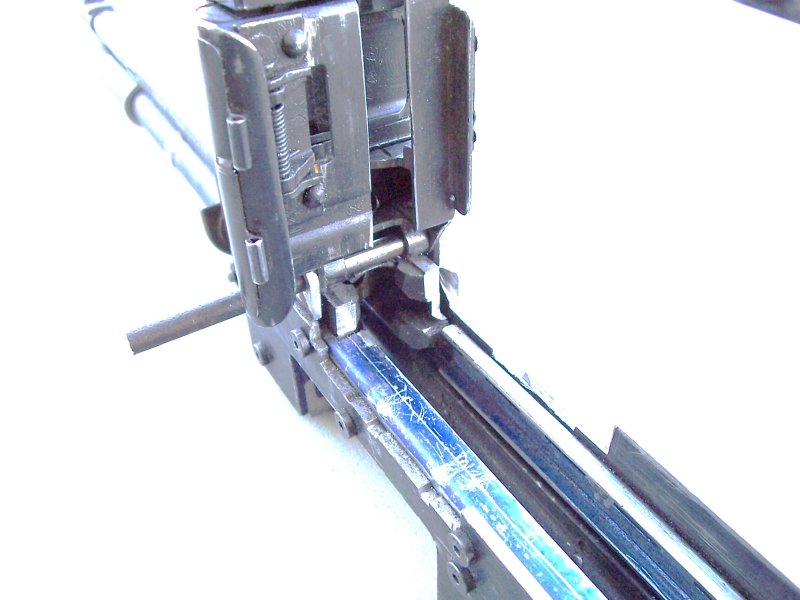
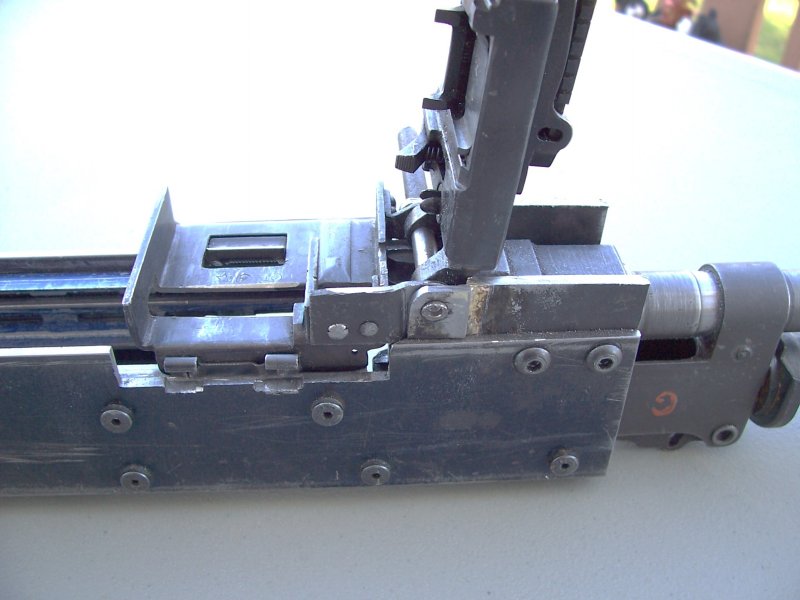
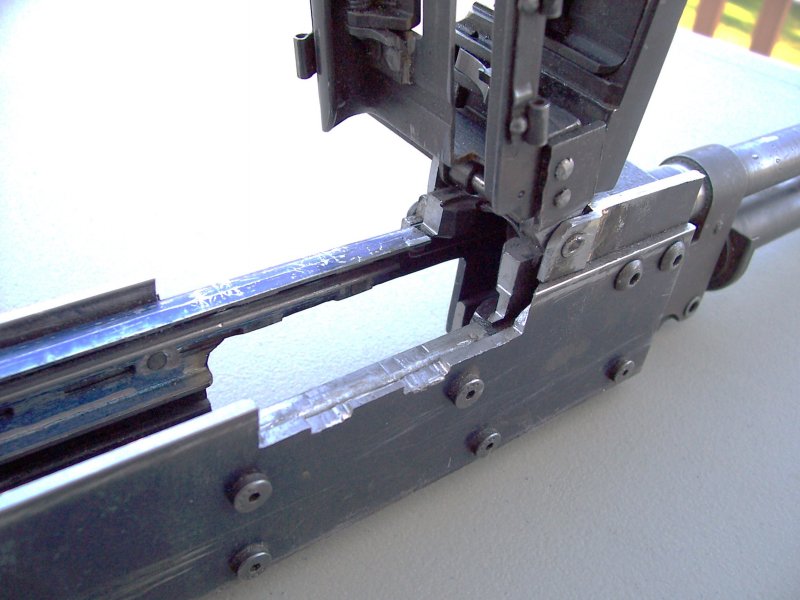
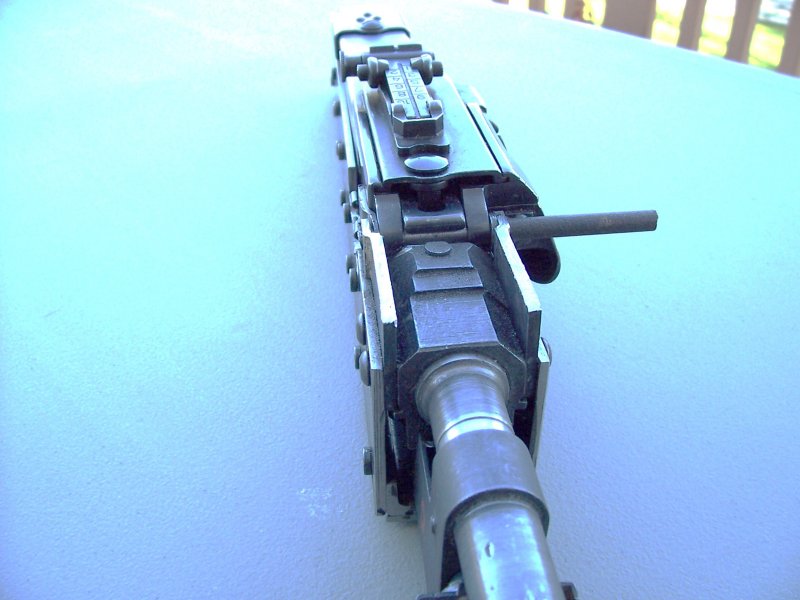
I got the gripstick mounted last night and the bolt carrier drill and tapped
1/4-28UNF for the BC extension. I need to get a bolt which is the only AK
thing I don't have yet. With that, I will thin the stripping lug and install
the FCG tray and return spring and see if it feeds. I will come up with some
sort of temporary operating handle and I have to study CTR's posts to find out
where to put the feed cam stud.
Here is a couple of more pictures of what I got done. Shortened the receiver,
attached the grip stick and temporally attached a FAL butt plate.
.JPG)
.JPG)
Here is some pictures of the trigger and how it actuates the FCG. The gas tube
locking lever doubles as a safety by when rotated vertical rides in a half
circle groove in the trigger bar blocking its rearward movement. When in the
normal positioning the detent hole, the trigger bar can move freely. Sorry for
the out of focus images.
.JPG)
.JPG)
.JPG)
.JPG)
.JPG)
.JPG)
 isn't that going to put your face pretty near where the belt is going to be
bouncing around to feed into it?
It's going to feed from a SAW-249 50 round "nut sack" mounted in the vertical
direction. See Doubletapme's Bren barrel version on post no. 225 on the MG47
thread.
I have been trying to get the BC assy to strip the round from the RPD belts
but it takes 2or 3 hits to get them push from the very tight links. I have a
16" M60 return spring with about 1 1/2" of inital compression and about 6 1/2"
total compression. The bolt face is about 1" from the back of the feed try at
it's rear most travel. I am going to increase that a bit and get more
compression and BC assy inertia. I am also going to open up the links by
pushing an overside round bar into them from the side. I will try that on a
few links on the end of the belt as I don't know how much they can be opened
without cracking and changing the pitch of the belt.
I opening up the links by pressing a .535 diameter round bar into each link.
Now the cartridges fit in the links about as tight as in the MG3 links and it
feed, chambers and ejects fine. I will post pictures as soon as I can. It is
ready to test fire but this week end is the start of the muzzleloader deer
hunt and my son and I are going.
I got the hand guards, butt plate and cocking handle attached. I need to drill
the trunnion for the barrel pin,(virgin trunnion) open up some more links and
it's ready to test fire. I hope I can try it this weekend. I need to
eventually mill out some areas on the receiver side plates and drill some
lighting holes on some of the internal parts, because the extra MG47ES 1/8"
wall receiver it's quite heavy for a bull-pup and needs to be lightened up.
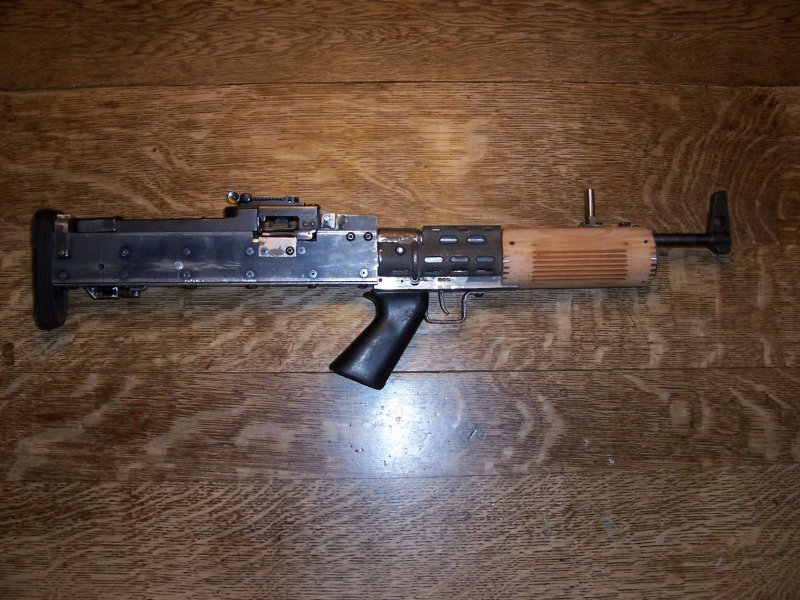
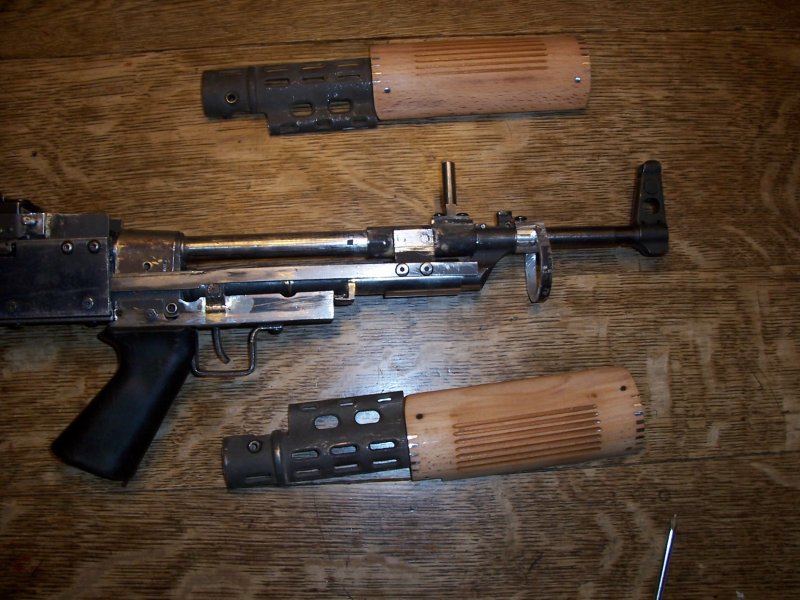
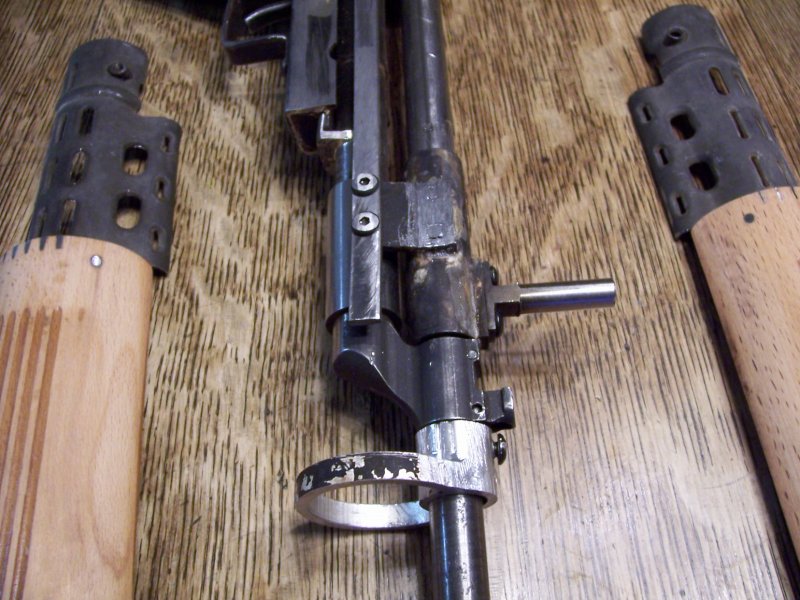
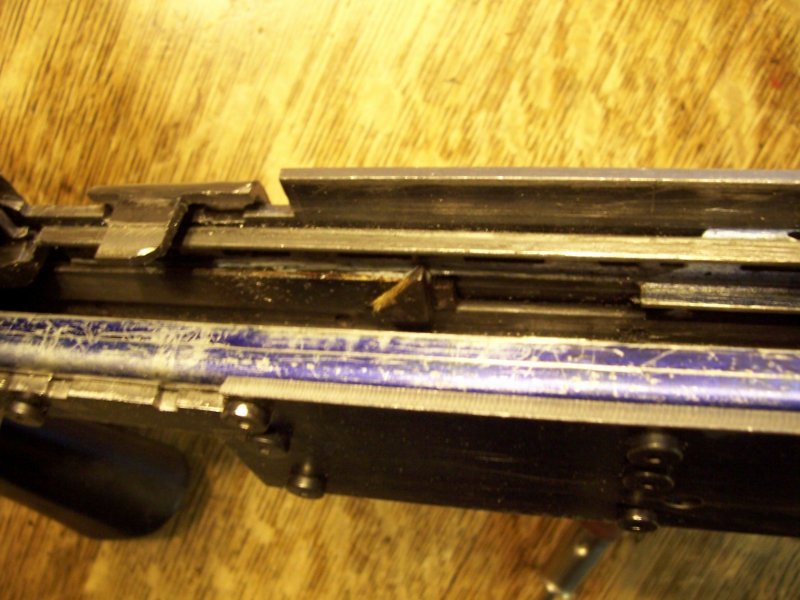
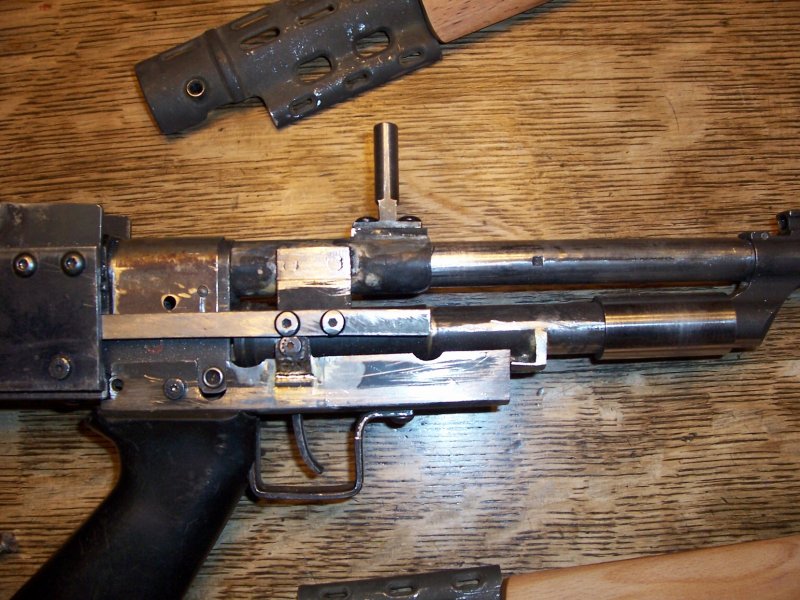
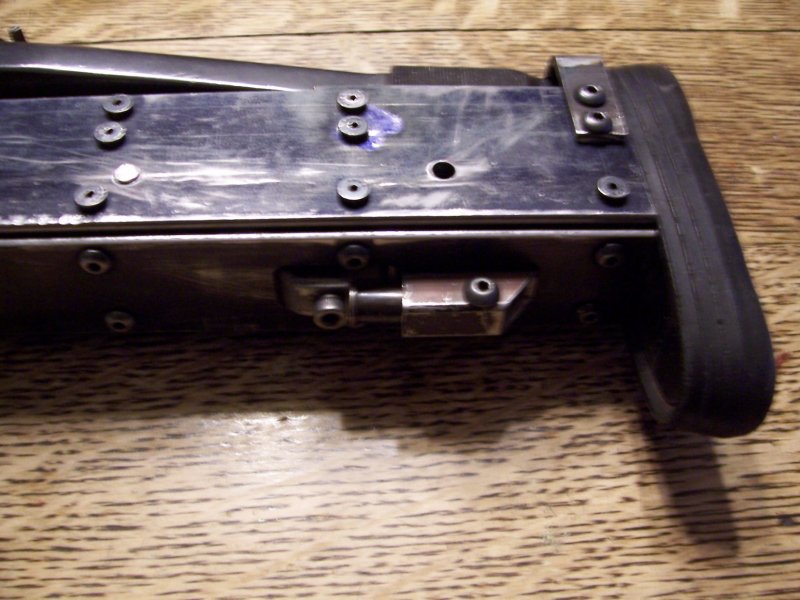
Test fired the MG47BP last Sunday. Firing pin is not striking the primers hard
enough to set them off all the time. When they did fire, it cycled fine. I
installed a different hammer spring and a heavier hammer. I need to give the
hammer more travel to have more inertia and try it on some primed cases until
I get consistant ignition. I removed the wood covering from the handgrips and
it looks alot better, not so fat on the front. Also moved the cocking handle
off to the side so I can see the front sight. Kind of important if I expect to
hit anything.
Here is some images of my finished MG47BP. The 50 round M-249 saw ammo pouch
makes it so the belt isn't flinging around in front of your face.
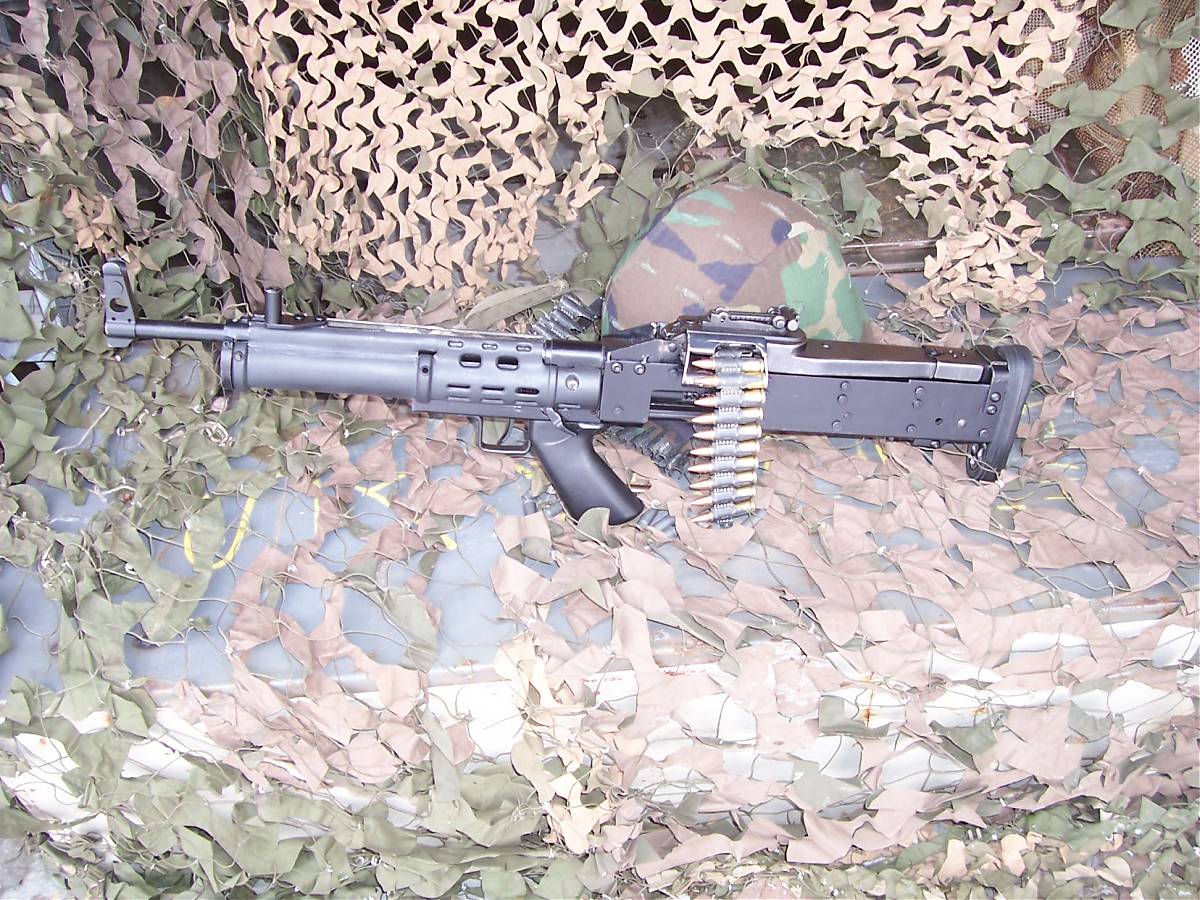
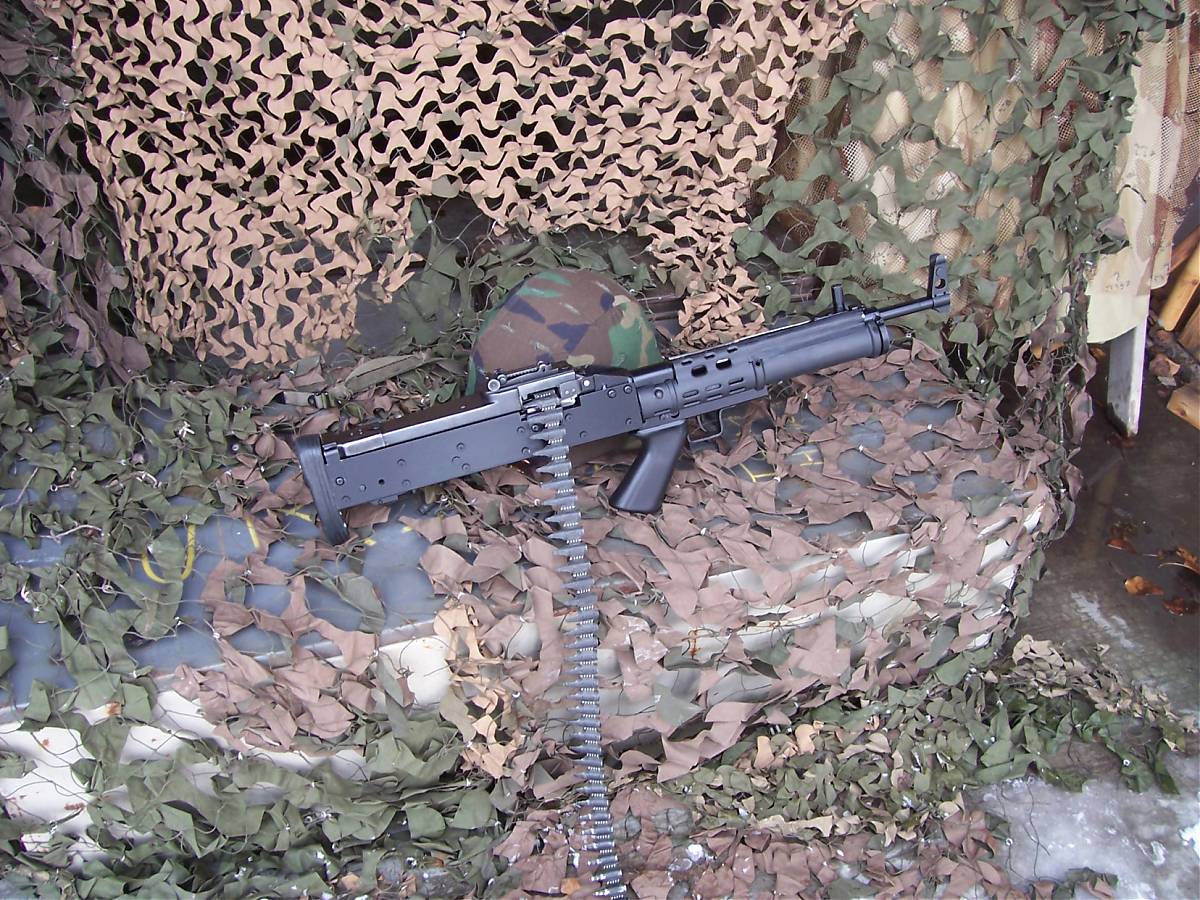
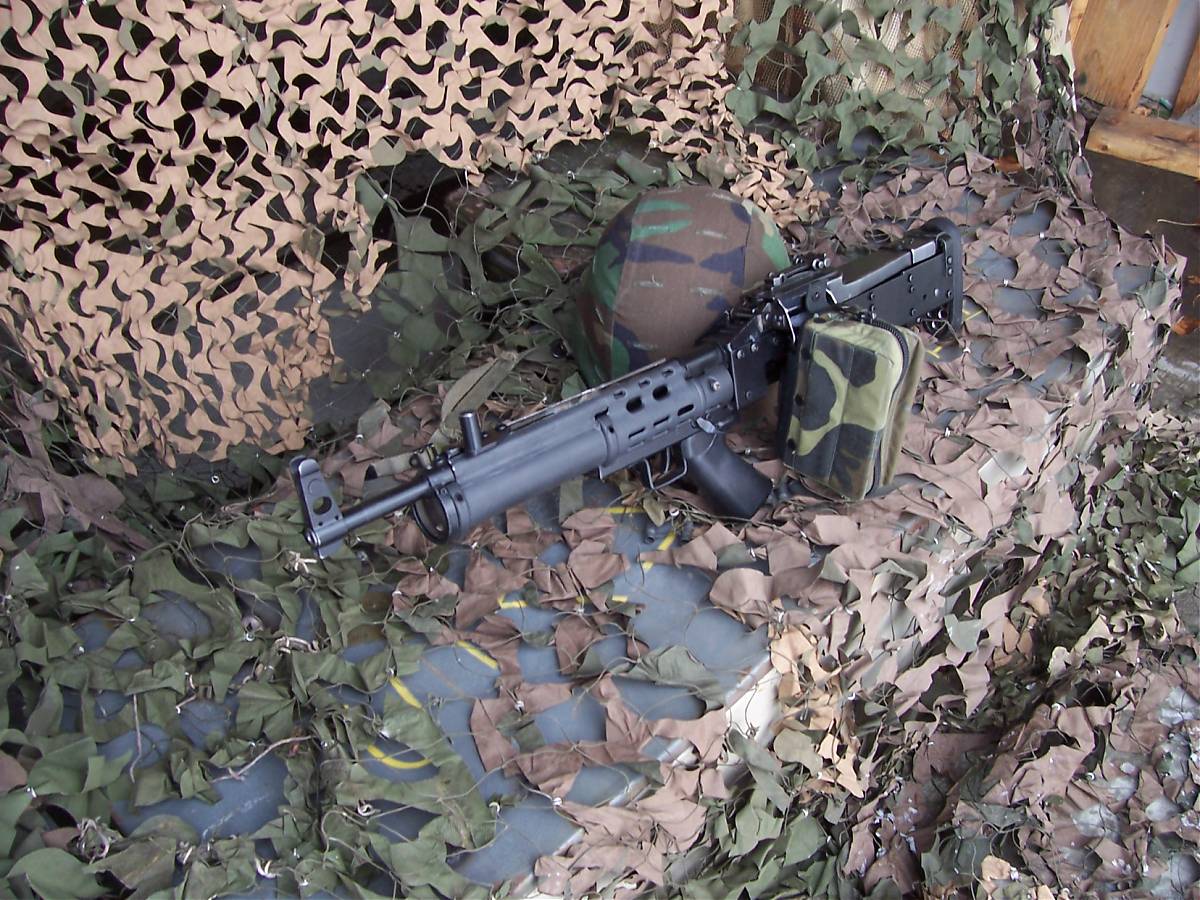
How is the balance on that with a full nut sack?
The gun is heavy, it being made on a regular MG47ES receiver so the full nut
sack doesn't seem to effect it much.


