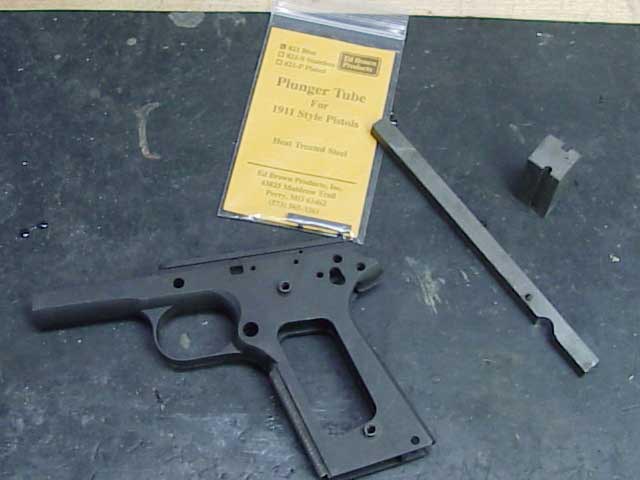

Now the first thing I will show you is how to remove your P.T., this is only necessary if your tube is damaged. If your P.T. is only loose, removal is not necessary. The first step to removing your P.T. is to snake some wire through it like in (Fig-2).
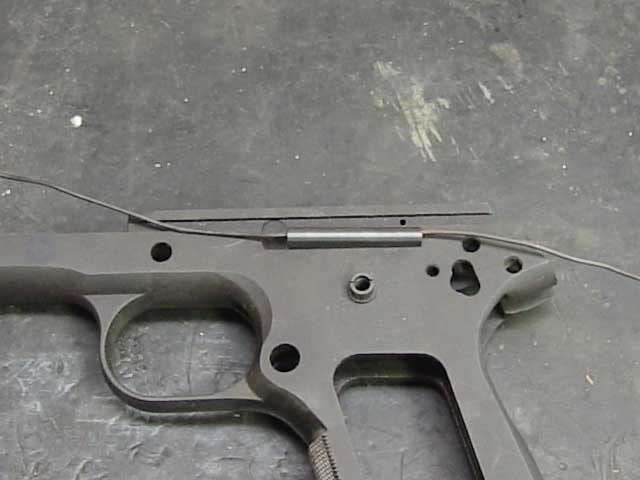
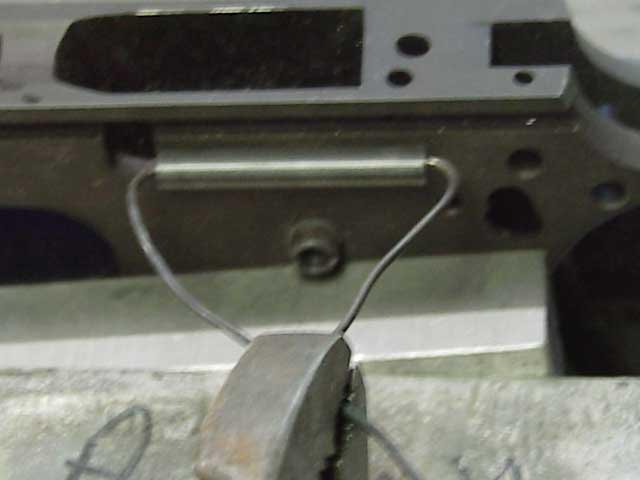
I personally use something that can be bought at any hardware store. Once the wire is through just bend towards you and grip with vise grips or pliers in a vise, and carefully exert outer pressure until she comes loose (Fig- 3).
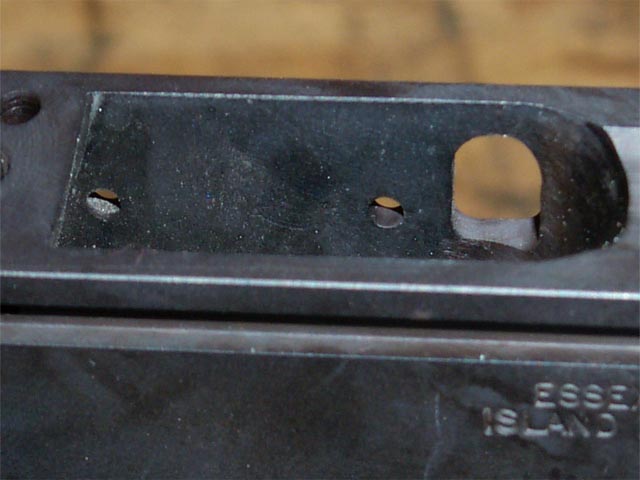
Once removed, examine the inside of the P.T. staking holes; they should be beveled slightly so the P.T. arms can expand. If the holes are not beveled, or if they look like (Fig-4), then you will need to take a dremel with a small 1/8 ball cutter and relieve or open the holes slightly, so the P.T. arms can be staked properly.
Once you ensure your frames P.T. holes are relieved on the inside, and most of your stock frames should already have this done, then place one drop of red Loctite on each of your P.T. arms and place in frame.
Now put the P.T. block over the P.T. and place in vise like in (Fig-5).
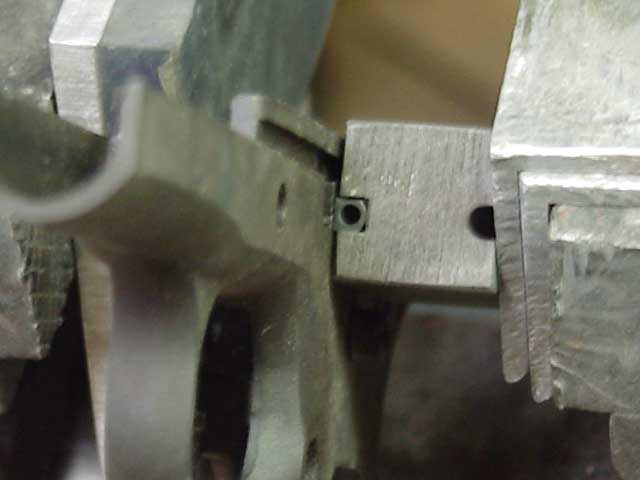
Now all that is left to do is stake the P.T. arms with a hammer (Fig-6) and (Fig-7).
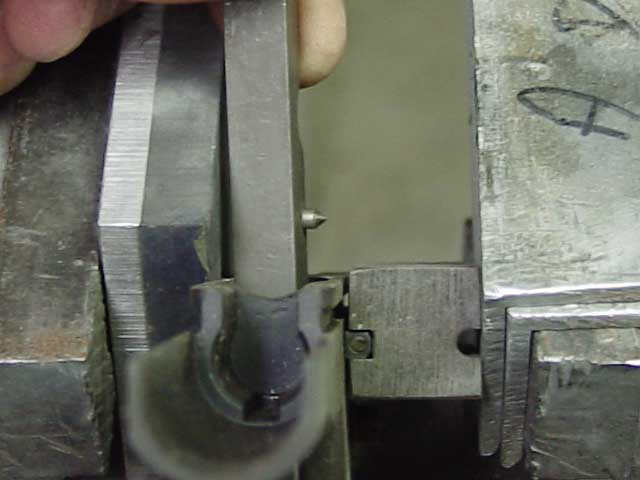
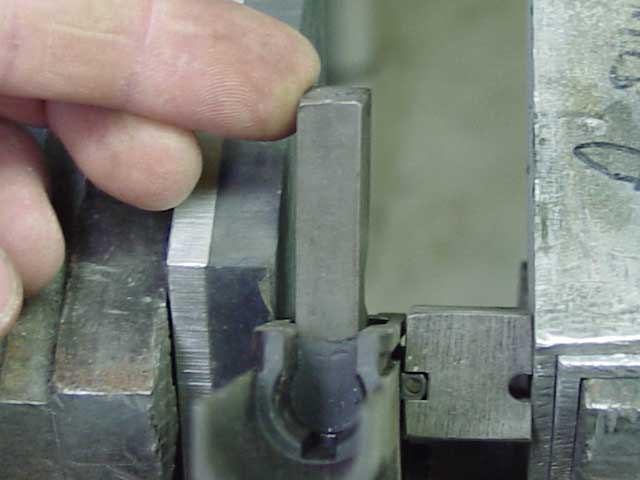
One last sidenote; you will notice in my picture in (Fig-1) that the staking rod was slightly relieved in one area, this was done by me to clear an extended ejector when staking the rear hole. One other side note; the block that captures the P.T. came with the slot for the P.T. a little too tight. I had to open it up with a file. Other than a little work to get the tools right, these are great Plunger Tube tools.
The plunger tube tools shown above are available from Brownells Phone # (641) 623-4000 and are Part # 964-707-000 at the cost of $9.97