was going to post this in the thread that I started before, but for some reason it was moved and I couldn't post there any more. Here is the link to that thread of what I've done up to this point...
http://www.roderuscustom.tzo.com/cgi-bin....0;t=116
I finally found time to start back on this 1911 frame. As you may know, I've been very busy with other projects like the AR-15 upper and lower receivers, AR-10 lower receiver, AK-47, AK-47/AR-15 adapter, AR-15 A1 detachable handle, another AR-15 new style detachable handle....and a few other projects here and there. After I started the AR-15 stuff, I got really into it, and I didn't want to stop....haha. I wanted to get the AR-15 stuff out of my system before I started back on this project. Well, as of right now, I'm done with the AR- 15 stuff, and I should be good to go on this 1911 project.
I done some thinking and I've kinda changed up my game plan on how to finish this 1911. I think it should work out better. The shop was shut down during the holidays, so this gave me some machine time on the CNC's so I was able do a little more on this frame.
Before I put this project on the shelf I had only done the 1st operation....here is what it looked like...
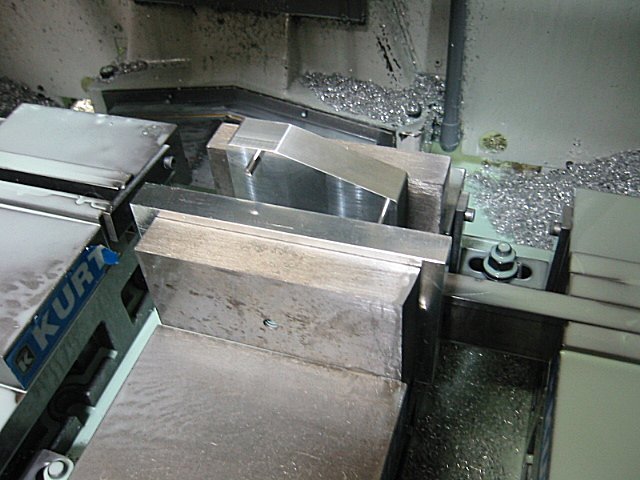
I had to make a set of jaws that would fit the Kurt vice, so I could hold the receiver for the 2nd operation. Here is what they look like...
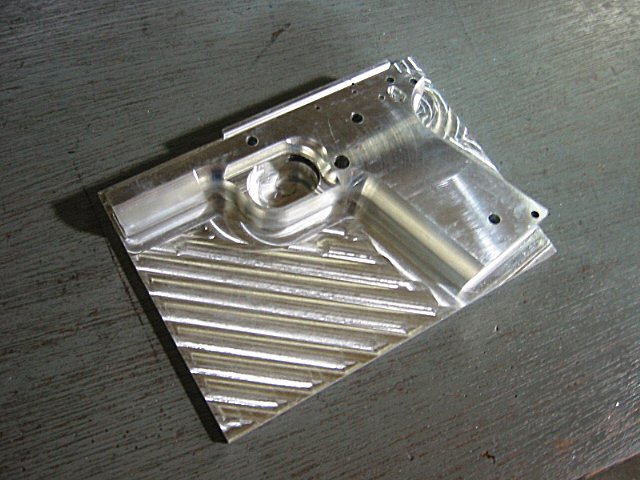
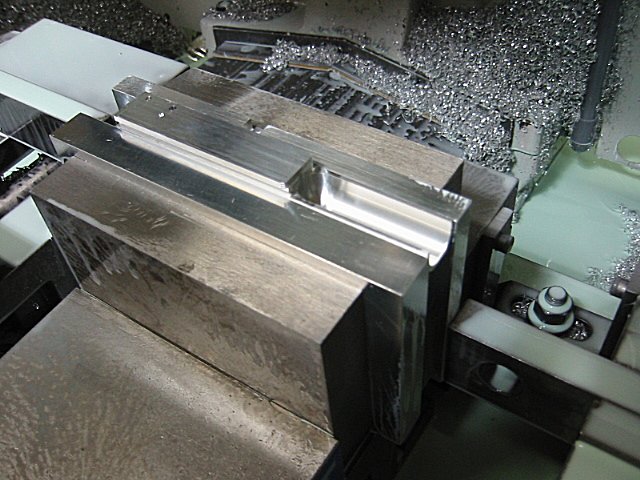
Here is what the frame looked like before the 2nd operation. With this operation, I done the right side of the frame.
I took the 1/2 hog end mill around the outside of the frame to get the excess material off.
I took a 3 inch shell mill across the top to bring the frame to the correct thickness.
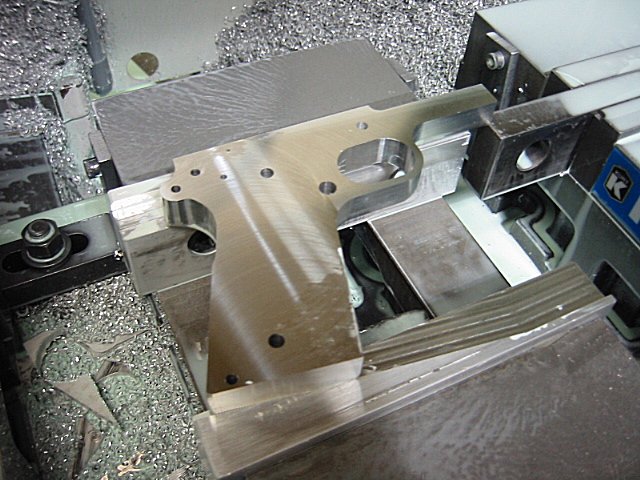
I then came back with the 1/2 hog end mill to mill down the trigger guard area.
Then I used a 13/32 corner rounding endmill to round off some of the corners.
Then I used a 3/32 carbide end mill to mill the safty button area and to also mill the slot for the rails
Then I used a 1/8 and 1/4 ball nose end mills to 3-D profile some more of the curves on the frame.
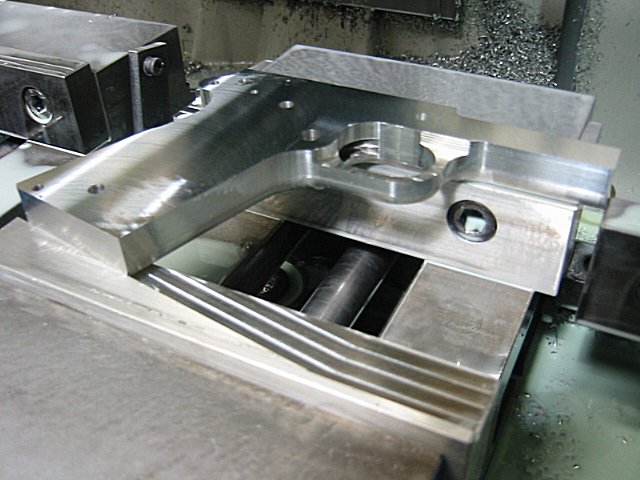
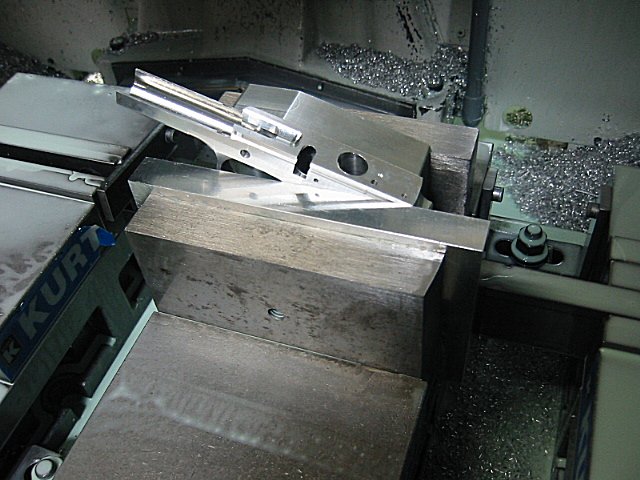
That was the end of the 2nd operation... here is the start of the 3rd operation...
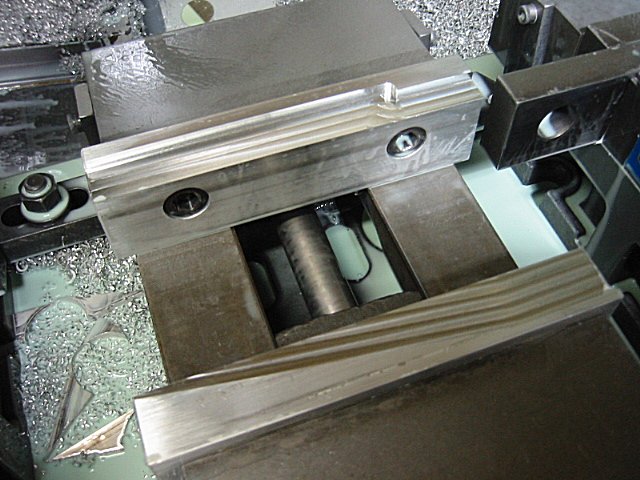
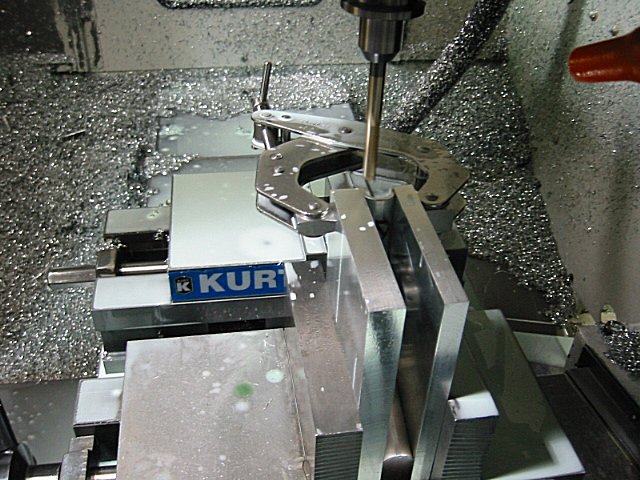
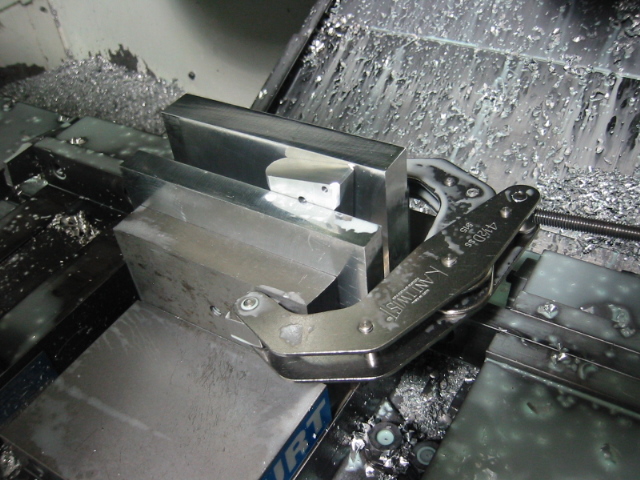
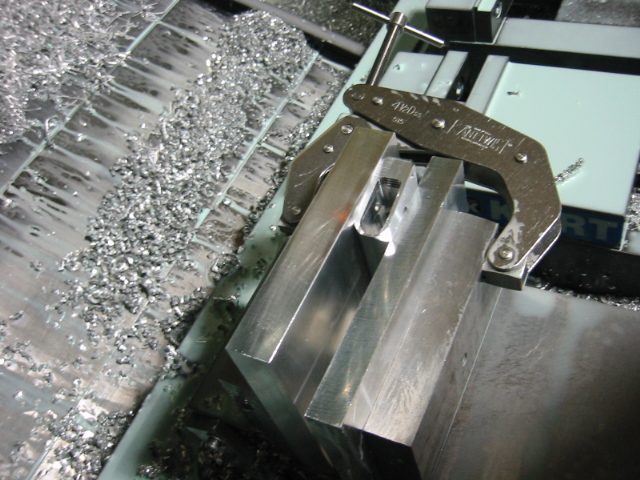
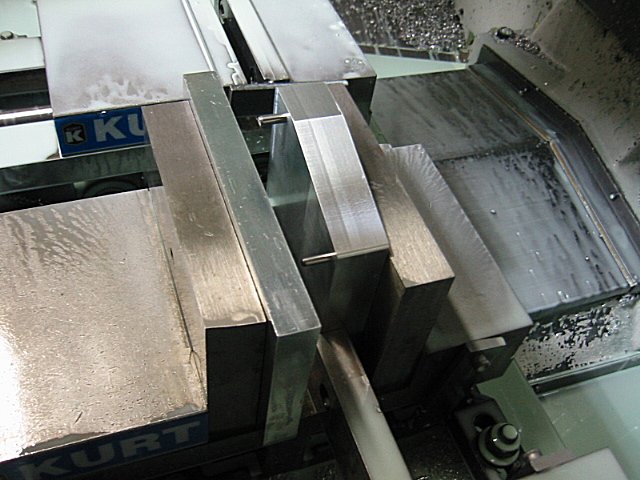
I had to make some plates to hold the receiver. One of these plates has a couple round bosses that fit inside the grip holes of the frame. The other plate is just flat, and it was just used to clamp the other side of the frame.
I used some 4" tall steel jaws (instead of the standard Kurt jaws) to help hold the receiver.
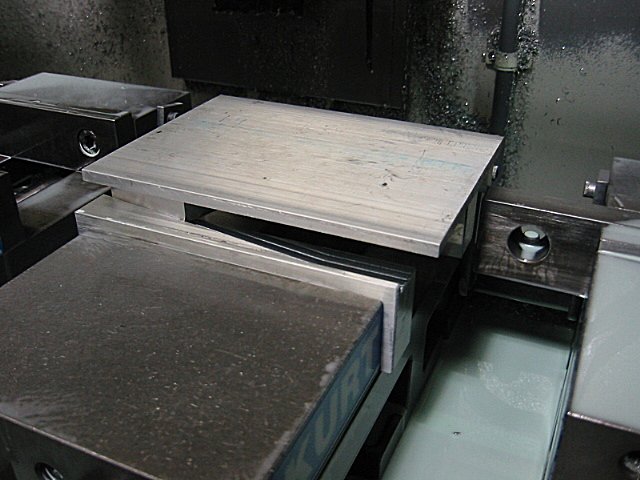
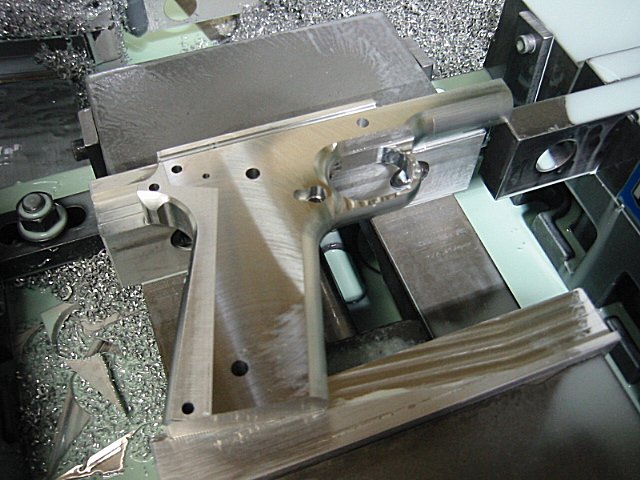
Here is what it looked like before the 3rd operation...
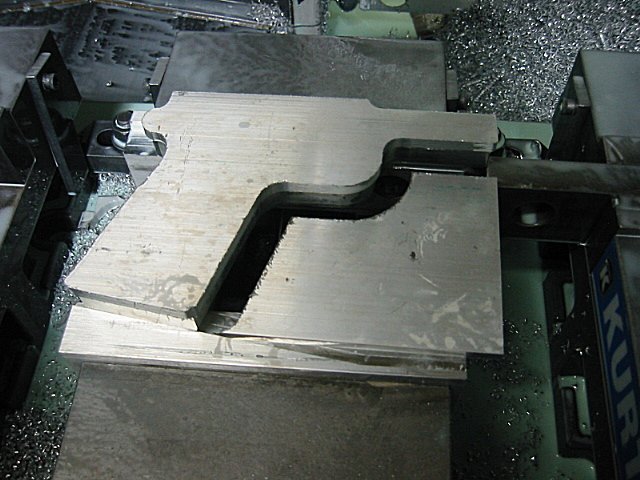
This is after the holes were drilled in the top of the receiver...
Then I used a 5/8 carbide ball nose endmill to mill the area for the "dust cover" (I think that area is called the dust cover...haha) I left this area undersized, because I am going to finish cleaning it up in the 4th operation. I just wanted to get most of the material out of the way.
Then I used a 1/4 and 1/8 carbide endmills to rough out some more of the material and to mill the slot for the slide release area.
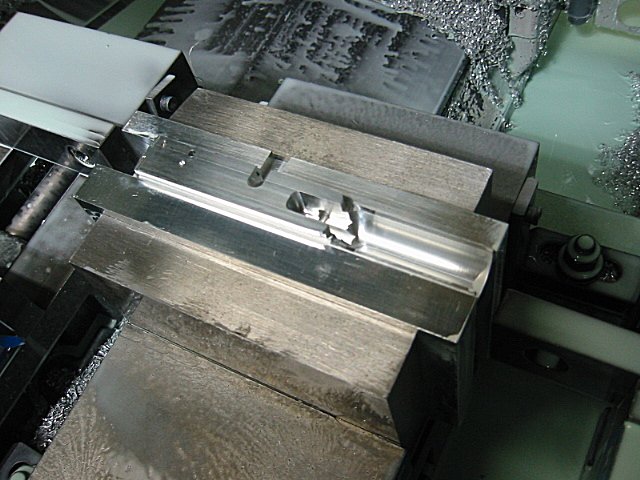
The last thing I done on this operation was that I used a 1/4 carbide ball nose endmill to mill the little area for where the barrel rests. I could have used a ball nose endmill here also, but I didn't have the right size ball nose endmill.
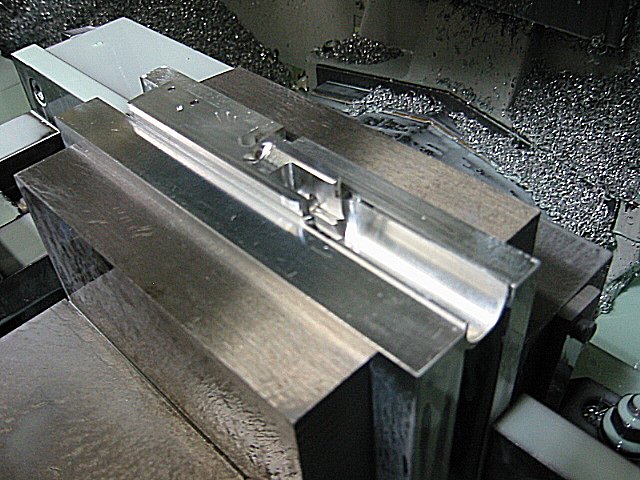
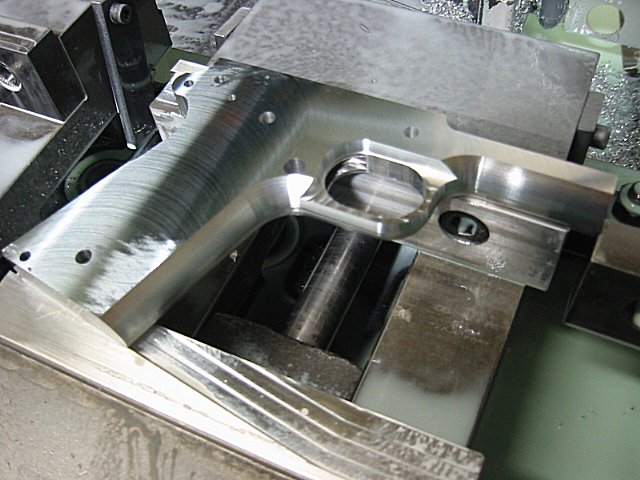
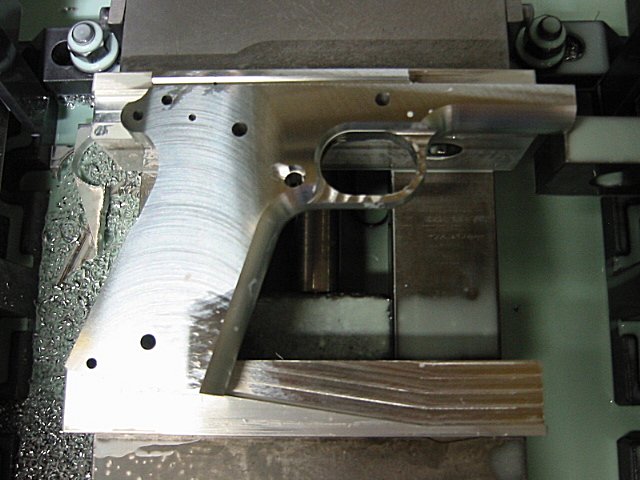
This is the 4th operation. This operation finished milling the dust cover, and further down inside the frame. I had to use a 4" long 3/8 carbide endmill. This carbide endmill held up just fine. I was worried that this endmill may not work because of viberations, but I took small cuts and it worked out just fine.
That's all I've done up to this point. I'm going to take some more pics this afternoon, so you can see exactly what all I've done with the frames.
I'm new to the whole 1911 area, so I may call some stuff the wrong name. If I do just correct me, because I want to know as much as I can about the 1911. I didn't know anything about the AR-15 but after I finished that project, I knew pretty much what everything was called.
I probably won't be able to do any more work on this frame until next weekend. I'm not real sure what my next step will be, but I'm thinking of doing the mag well area. Either that, or maybe do the back of the frame. But when I get some more done, I'll be sure to post here so you guys can see what I've done.
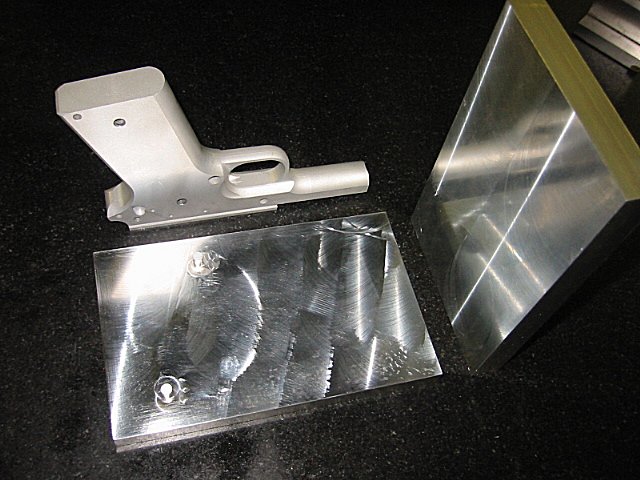
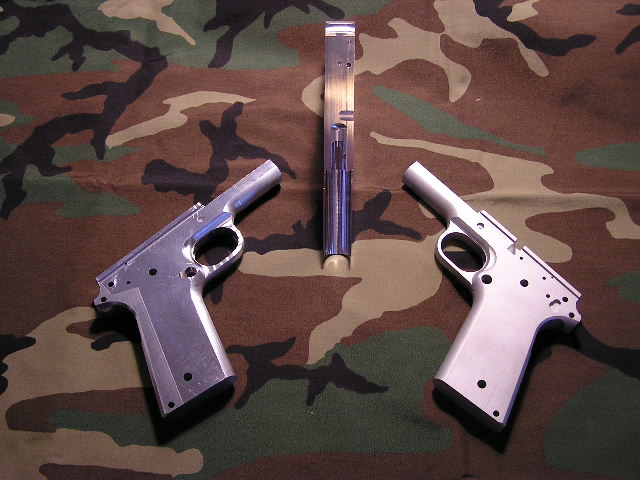
Maybe with this picture you can get a better idea of what all I've done so far. The frame on the right side has been bead blasted. If you look at the frame in the center, you can see the work that was done on the 4th operation.
geodkyt:
I probably won't make any more of these frames in stainless, for that matter I
probably won't make any more at all.  I've got the 5th operation finished
tonight, and this thing is really starting to get hairy.  I'm now starting to
get into the stuff that I was dreading when I stopped on this project last
time.

TX400cb1911:
I'm using 6061 T6 aluminum.  I know this isn't as stong as 7075 or even
stainless, but I wasn't sure if I could finish this project or not, so I
didn't want to drop a whole lot of money on the material and it becoming
scrap.
Glad you guys like this project so far.
As I've said, I got the 5th operation finished tonight. In this operation, I setup on machining the mag well from the bottom of the frame. I used a 9/16 drill to drill a couple holes to remove most of the material. Then I came back with a 1/4 carbide endmill and milled the mag well down to about 1" deep. I will need to flip the frame 180 degrees, so I can finish milling the rest of the mag well. I made another fixture to hold the frame on this op. It's just like the fixture I made before, but with the bosses being in different locations.....and I used steel dowel pins for the bosses instead of machining around the boss....I needed the bosses to be strong in this fixture, because the drill will be causing alot of down force on the pins.
I've been kinda sick the last couple days, so I'm going to take a break this weekend and not work on this frame any more until next weekend. Hopefully I'll get to feeling better by then, and it'll give me some time to think about my next plan of attack on this frame :D
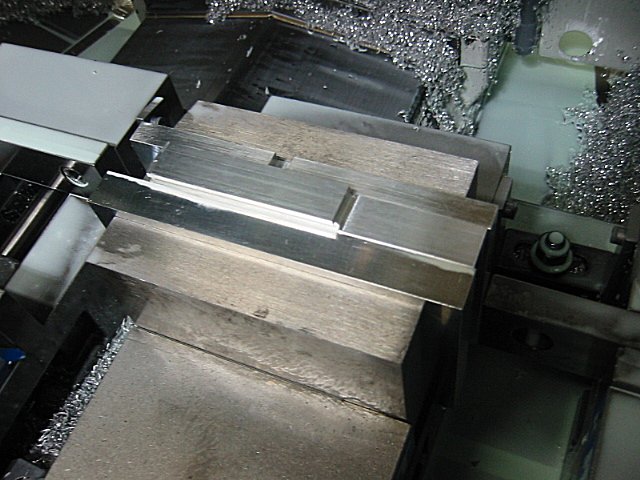
Here's what it looked like before the machining on the 5th operation...
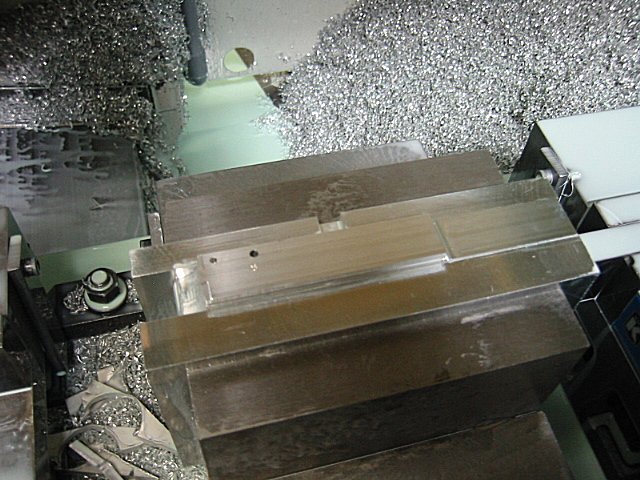
This pic kinda sucks, but I was wanting to show what the frame looked like down inside the mag well.
I may try to do the other end of the mag well on the next operation. If I do, I'll take some close up pics of what the frame looks like so far.
I got the 6th operation finished today. With this operation I done the top side of the mag well. I had to make another fixture to hold the frame so the mag well would be vertical to the table. I've found that making these fixtures is a whole lot easier than trying to use angle blocks or something to get the correct angle during the machining.
Here's a pic of the fixture...
Here's another shot of the fixture...
This is what the frame looked like before any machining was done...
used a 3/8 long carbide end mill and a 1/4 long HSS end mill to machine the mag well. I also used a 1/4 ball nose to 3-D the "ramp" of the mag well. I'm not sure if it's called "ramp", but that is what it looks like and I think the ammo ramps from the mag to the barrel using this surface.
Now I've machined the bottom and the top of the mag well, but there is still material left in the center of the mag well. But I'm not worried about this, since it'll be taken out when I machine the 2 big pockets on the side of the pistol grip. I'm leaving this material in tack for now... since I want to use that strength to help hold the part for the rest of the ops.
I'm going to be grinding some end mills, so next weekend you should be able to see how I go about doing the back side of the frame and part of the trigger slots.
I'm getting this project finished, even though it's only a little bit at a time... haha. But I'm still hoping to have it finished by New Years... with a little luck, I should be able to make it
