Thought I would show everyone my checkering setup. For you guys with milling machines and a rotary table its a pretty good solution. Probably not as nice as the dedicated fixtures but it does work.
Ill put up the pics I have and if anyone needs more details just ask. I think most guys with the equipment can probably sort out most of it. Many times just seeing someones solution can help even if you dont make an exact duplicate.
Im not a profesional gunsmith, I shoot 1911's a lot (bullseye) and just happen to work on machine tools and play with them at home. I was wanting to checker my guns and it seemed like a challenge to figure out how to do it on the Bridgeport.
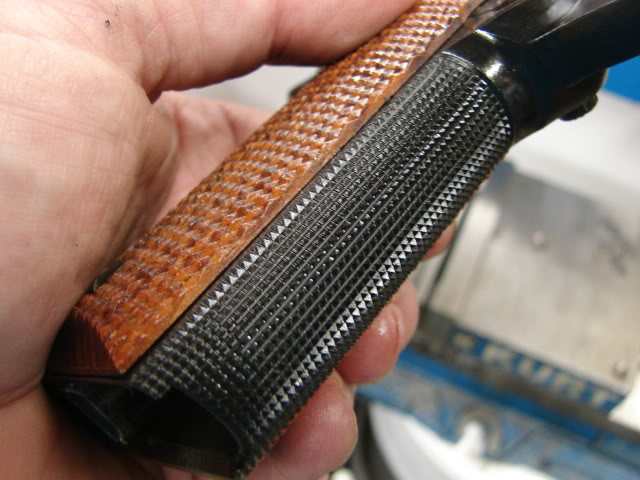
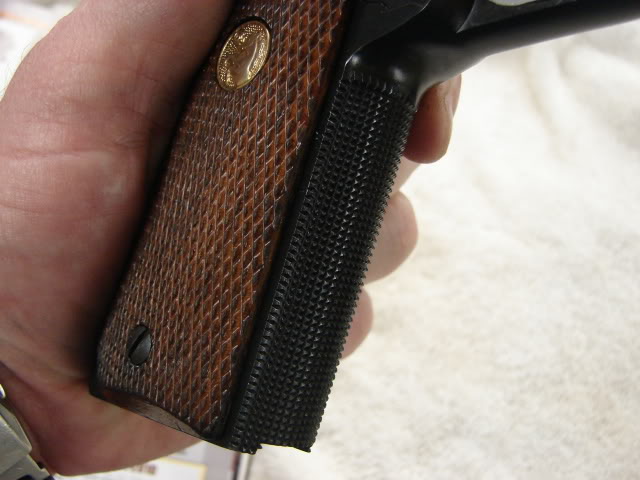
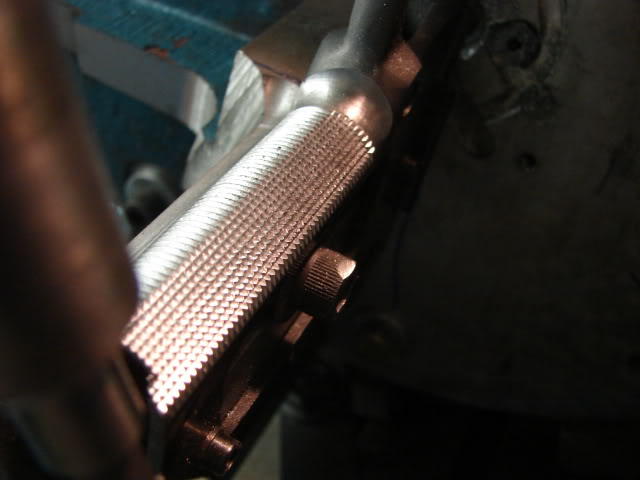
Might as well start with a couple of the "finished" pics to show the results.
And another gun -
So first the front strap must be trued up.
Here is some stippling being removed
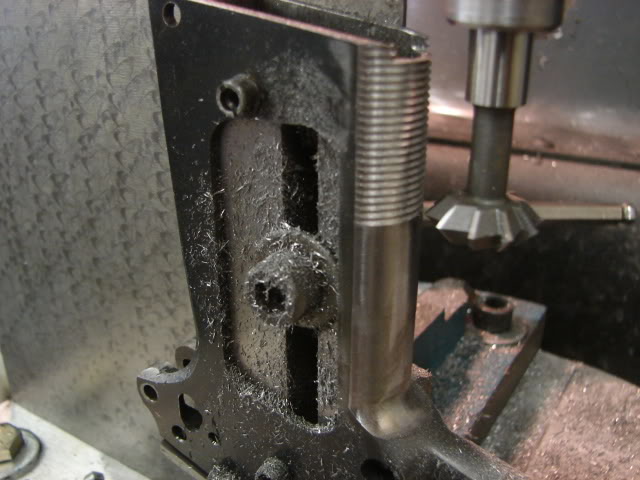
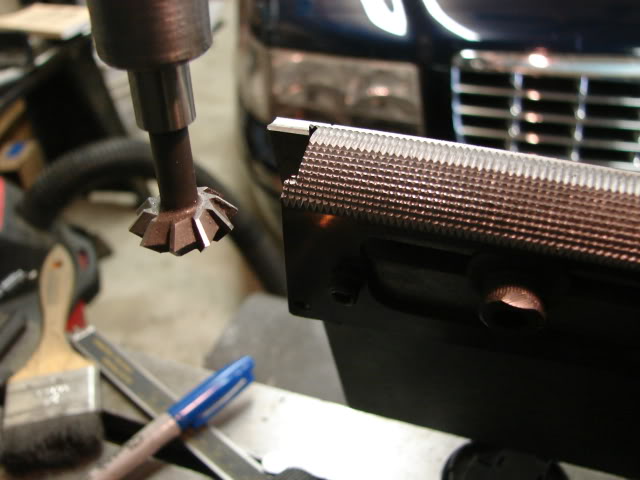
And the horizontal lines being cut. Yes a 90 degree cutter was used. No one reason, it points up at less depth, still feels great, and I had the cutter already.
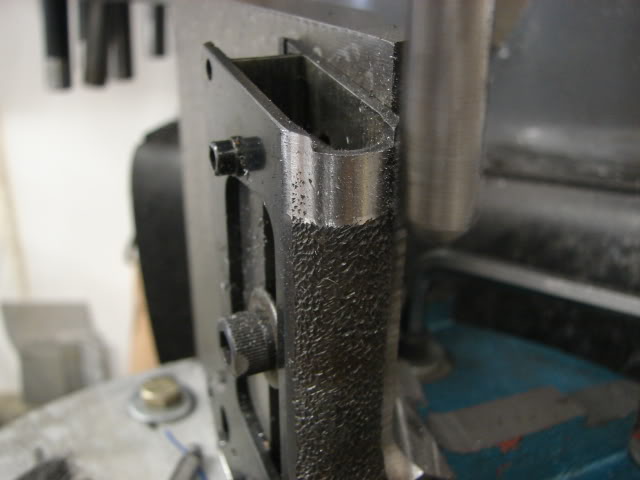
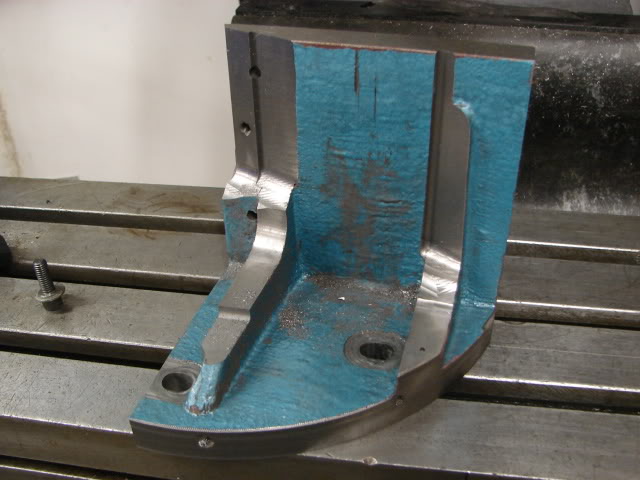
Now the previous setup the rotary table was flat and the frame was mounted on this 6" angle plate "heavily modified."
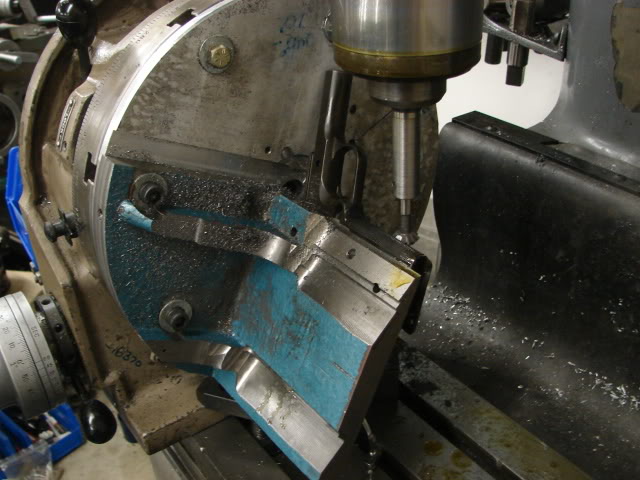
Most of the webbing had to be cut away to allow clearance for the quill when cutting the vertical lines.
This is the side the frame gets bolted to. The top hole accepts the grip bushing and acts as a pivot point. The lower hole is oversized to allow any final positioning, the frame is mounted upside down with a mag well filler block and bolted in place.

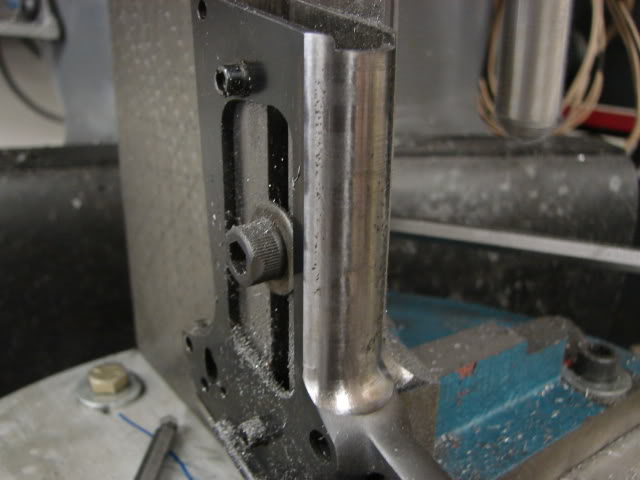
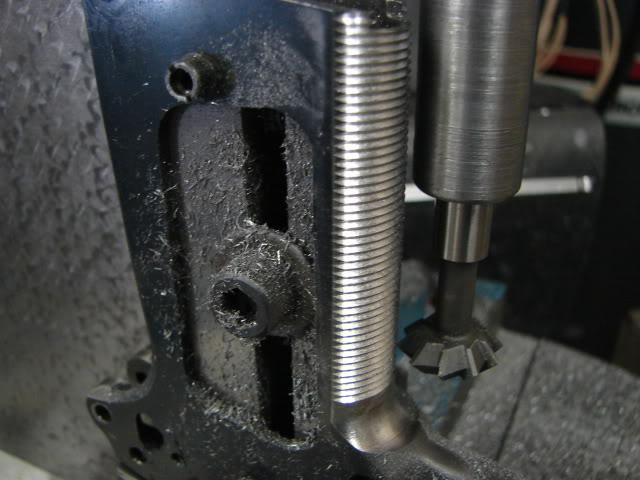
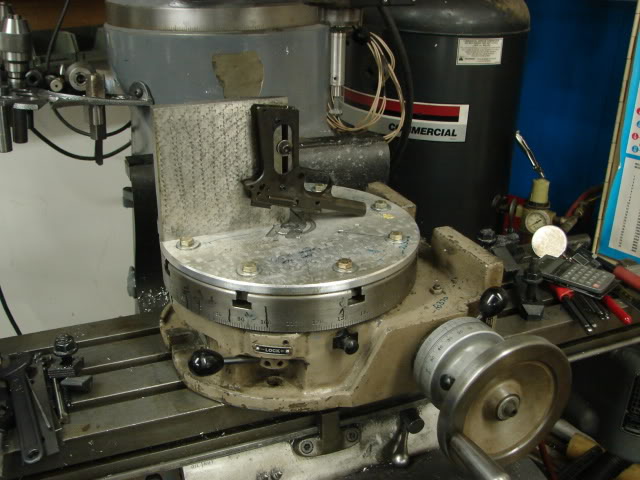
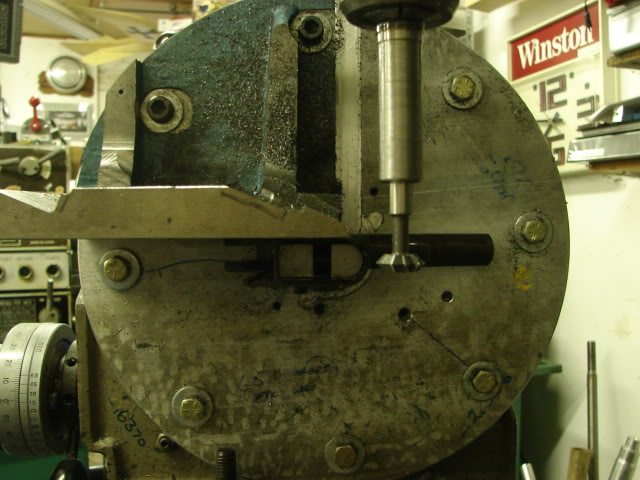
Now when cutting the "vertical" lines the rotary table gets turned vertical without removing the frame from the fixture and indicated in.
Here you can also see I have the fixture mounted on a sub plate so I can remove it without losing too much of the setup, not required but pretty handy.
Tough to get better pics but hopefully these will help.
For the few guns I did I went with 20 LPI so the spacing was .050 on the horizontal lines. For the vertical lines you need to get a general idea of the front strap diameter and calculate the circumference. Divide that by 360 and you should get the thousandths of an inch per degree on the table. For 20 LPI I settled on 7-1/2 degrees per line, started in the center and worked out to the edge.
For a different LPI count it would be pretty straight forward to calculate out the moves required.
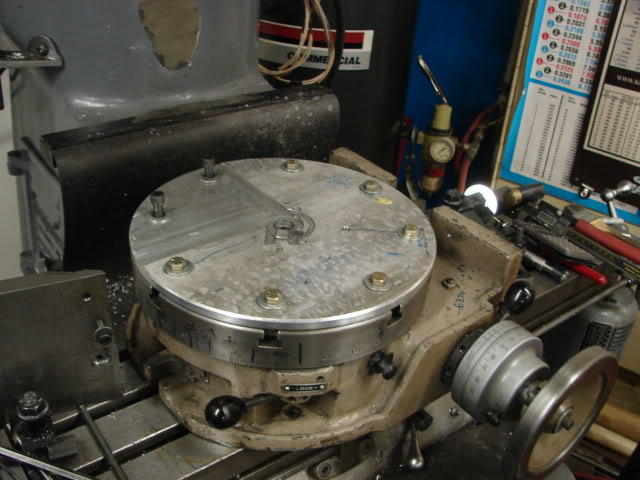
Alright guys, I was tearing off my setup this morning and took a few more pics to clear a few things up.
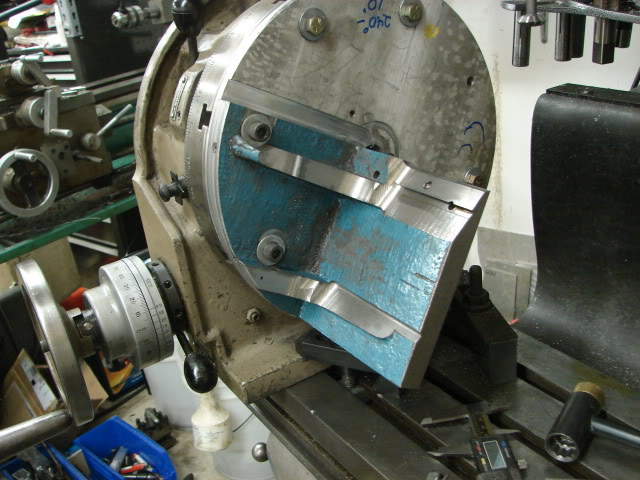
First pic here is just the rotary table with the sub plate attatched. I have a slight recess milled into the top for the angle plate to set. When the flat surface of the angle plate is butted up against it, it puts the frame on center with the table.
When I bolt it down (the table) I indicate in the center of the table before I bolt on the angle plate.
Here it is with the angle plate attatched and a frame mounted. I have slotted holes in the angle plate to allow any final adjustment to get the front strap running straight (vertical) and on center with the table.
I have kind of a "variety" of 1911's and it doesen't seem like any 2 are the same when it comes to machining on the front strap.
Now the angle plate, why take a 6 inch angle plate from this.
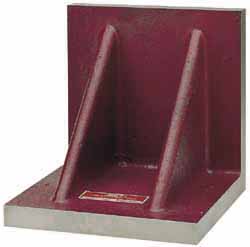
To this

For the setup in my previous post it dosent matter much but when you turn the table vertical and start rotating it to cut the vertical lines things get tight.
I couldn't run it on the bottom half of the table because I was hitting my clamps when rotating so I went off in this direction.
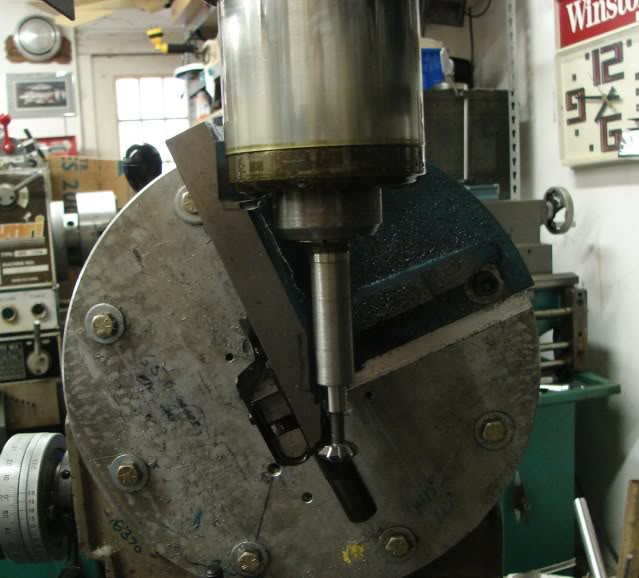
Doing the first line on center is good enough,
And swinging away from the angle plate is fine.
But swinging towards it things get close, luckily everything cleared before I ran out of metal.
Thanks Aneat. Hey, can someone post a like on how a rotary table works. Pics have helped, but I'm still too new at the machine to make complete sense of it.
Well, the simple version is you turn the handle on the rotary table and the table rotates.
It allows you to either machine in a smooth rotary motion, or position with some degree of precision to a specific angle, and machine the part.
In this pic you can see the handle mentioned, there is also a lock to clamp it into position if needed.
The perimeter of the table is marked off in degrees (0-359) and on the handle is a vernier marked off in minutes/seconds for even more precise positioning.
aneat - Just curious, do you feel that using a large angle plate with webbing is worth all the extra work to make the necessary clearance cuts vs. using a smaller angle plate without webbing? Is the extra rigidity necessary?
I started with a 6" angle plate just because I had the 12" rotary table and it provided the largest footprint to the center. And I think 6" of height helps get the frame up to where you have a little bit of room for adjustment.
Heck I think Ive cut off most of the webbing and its still plenty ridgid.
If there is a 4" wide, 6" high angle plate I think that would work fine.
A smaller rotary table would be fine as well, 8" would probably do. The one I'm using is 12"
If I was to build another fixture I would probably get another 6" angle plate and just take it to the bandsaw and cut off 90% of whats not needed or in the way.
The extra mass helps but in the end we are only cutting .020 or so with the double bevel cutter doing the checkering. Pretty light cutting really.